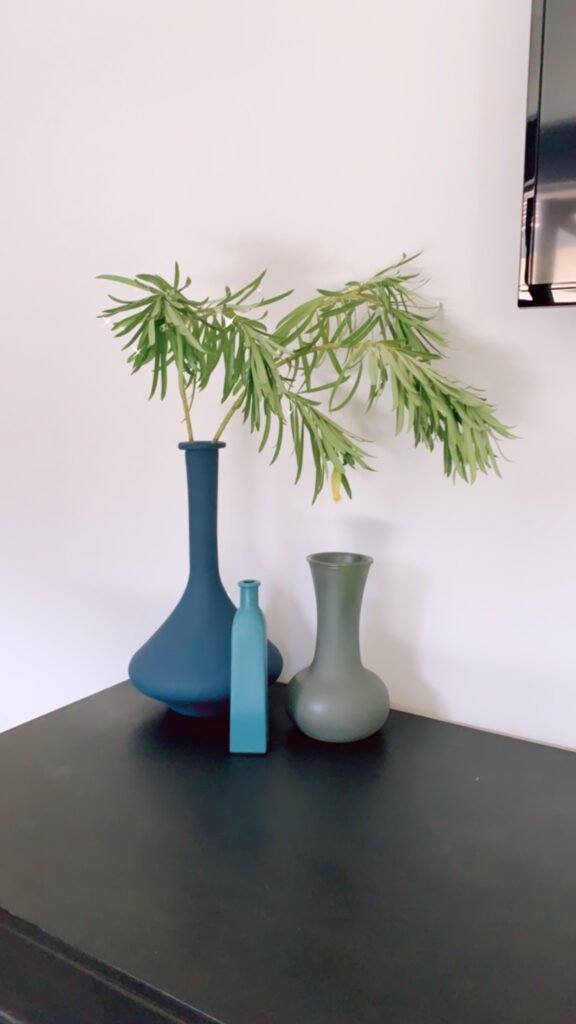
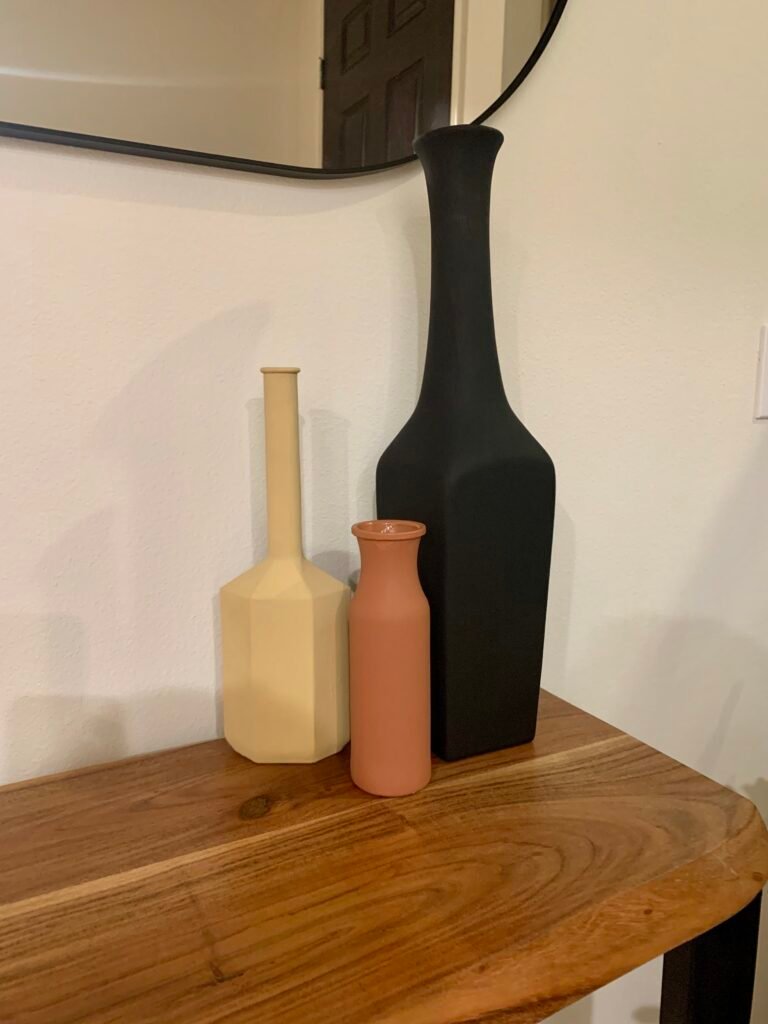
We needed decor for the house, and I was thinking about how I could do this the DIY and more affordable way…. so, I decided I wanted to paint vases.
Go browse Anthropologie or even Homegoods and any of these vases would easily cost you $20-$60! Like ONE of these for $28, don’t get me wrong, they are beautiful and a great option if you don’t want to DIY! But I got 12 vases for a grand total of $40 ish dollars!
We went to a few local thrift stores and found various shaped and sized vases for $1 to $8 for the largest ones.
I then posted about the vases and my friend Bethany asked, “Are you doing the TikTok Clay vases with baking powder?”
“…come again?” I had never heard of this.
She then shared the tutorial and I figured I would try it for all of us!
So, I will share 2 different ways to upcycle vases depending on your desired final look.
What You’ll Need:
- Vases – Get to thrifting! Or you can find some cute cheapish ones at Walmart.
- Self Etching Primer – $5.28 – This is to make sure that the paint sticks to the smooth surface of the glass.
- Craft Paint – $0.89 – I used Anitas, but you can use any ACRYLIC CRAFT PAINT.
- Foam Brushes – $0.68 – Get a few of these, so you have one for each color you do. They are reusable too.
- Clear Coat – $4.27 – See Step 3
Step 1: Clean Vase & Prep with Self Etching Primer
If the vase is dirty, clean it off. Kind of obvious, but it does make a difference. Don’t skip this step.
The self etching primer is something I used in my DIY Hardware project and it allows paint to stick to smooth surfaces. There was definitly a vase I didn’t do this well on, and the paint kept coming off. So this is VERY important!
- Spray the entire vase with a thin coat of self etching primer
- Allow to dry 1 hour or to the touch
Step 2: Paint!
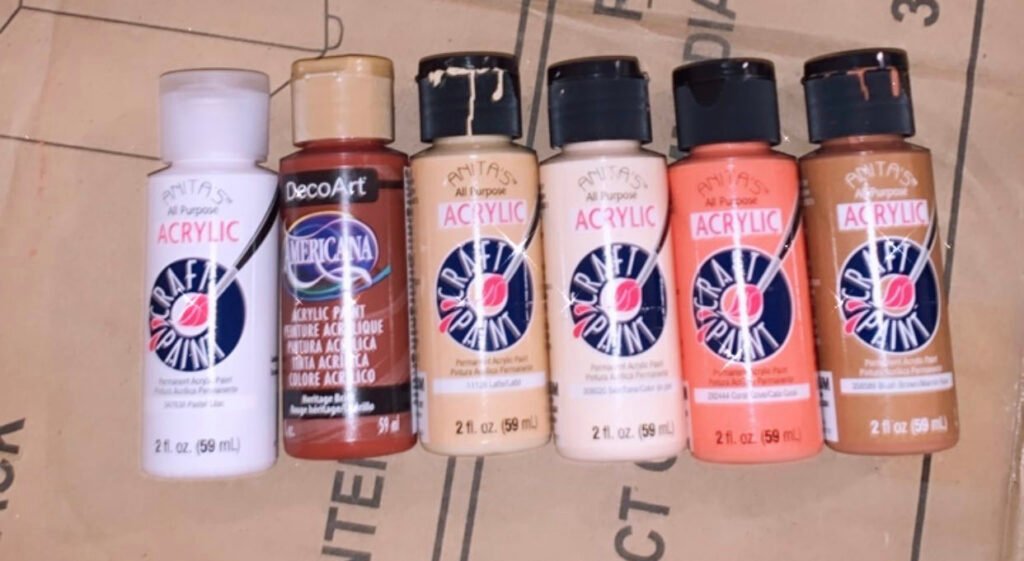
This is where the magic happens! I had to paint 2-3 coats on each vase to get the desired look.
- The foam brushes really are the best to give a finished look and no brush strokes.
- Get creative, I mixed colors to create my own custom color. I suggest grabbing a white and black to help mix and lighten, darken a color.
- I also painted the inside with straight paint.
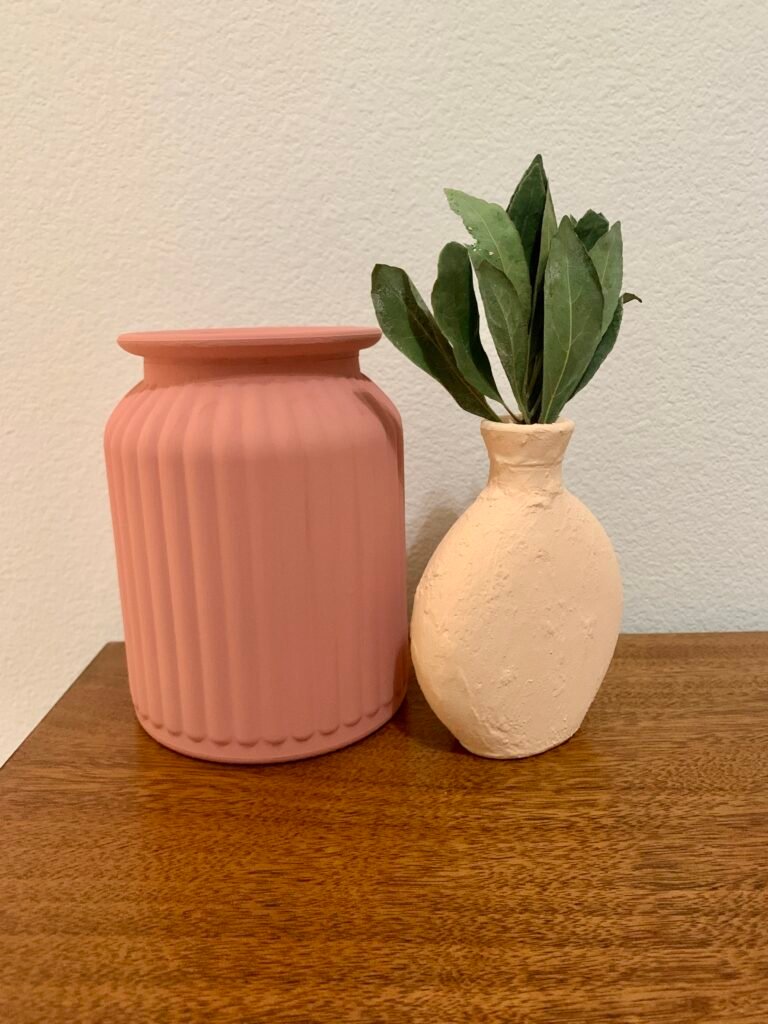
Now here is where the way you paint determines your final look… See the 2 methods you can use to get the desired look as pictured.
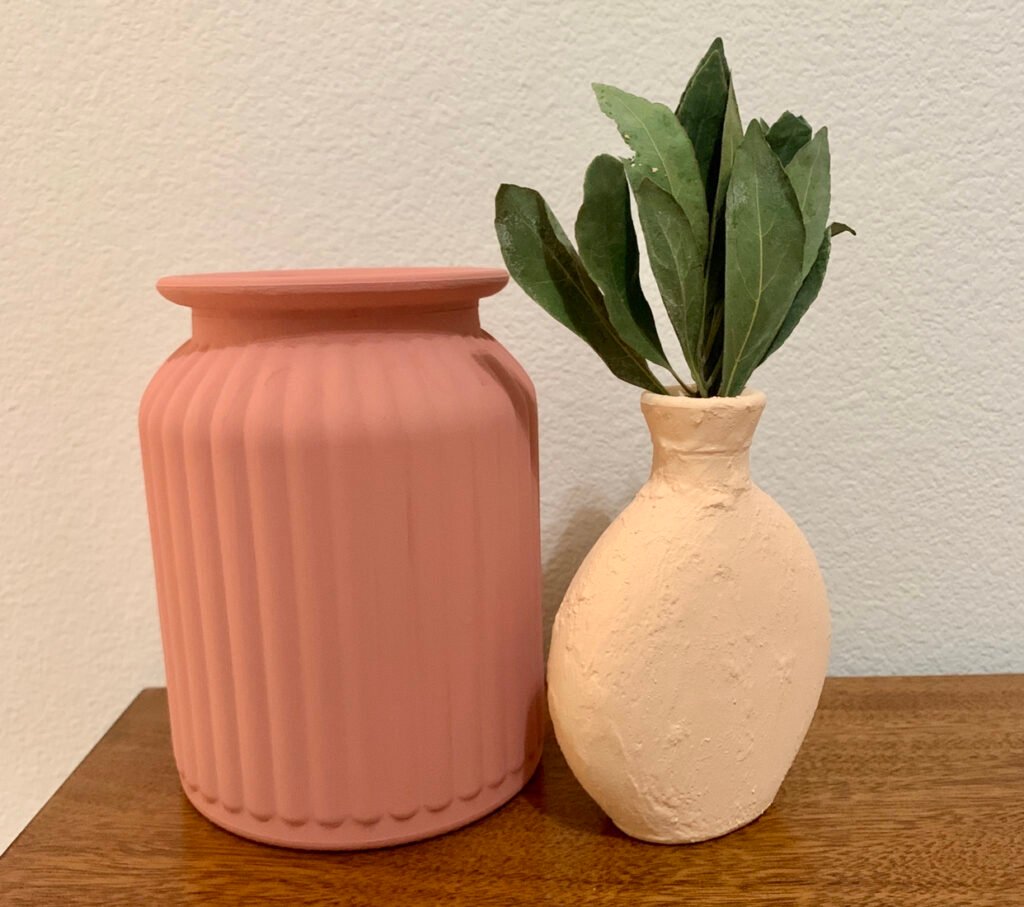
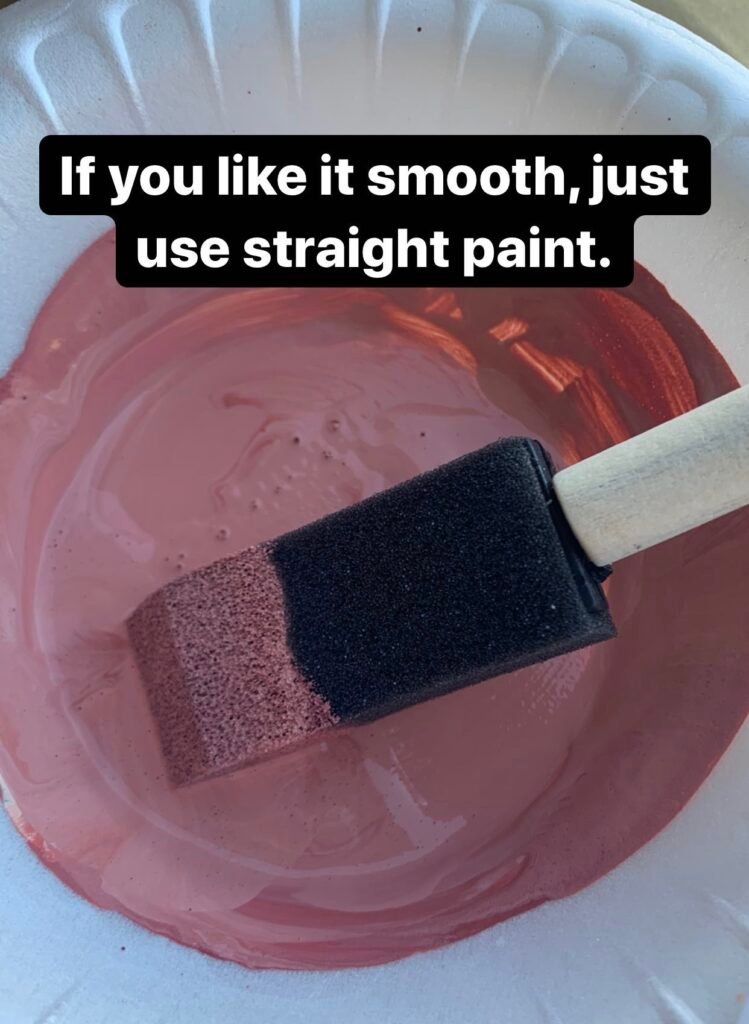
1. For a smooth matte finish:
You won’t use any – very little baking powder
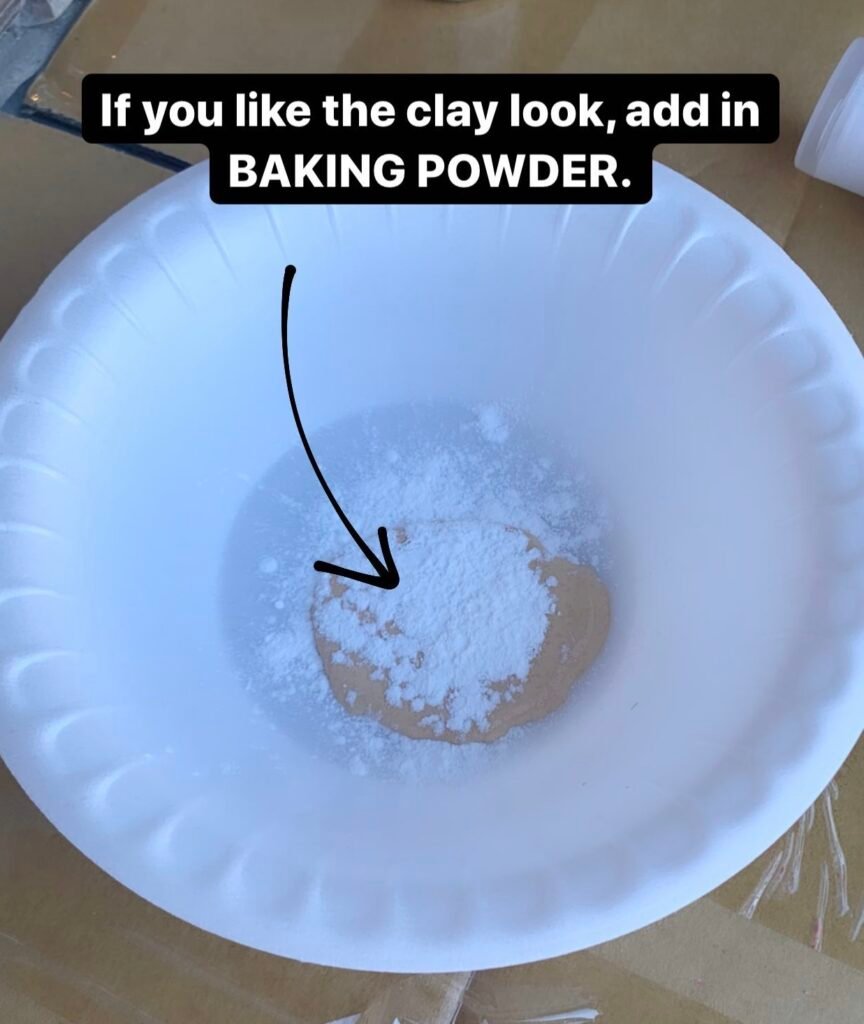
2. For a Clay or Rough finnish:
You will use baking powder – NOT BAKING SODA, BAKING POWDER

Step 3: Clear Coat
You don’t necessarily need to do this step if you like the end product. I did on some, and didn’t on others. I will say for $5 a can, it can protect from dings and scratches, so I think it is worth it.
Personally I am really digging the matte look, and it is super trendy right now!
There are a few different finishes you can do too!
Step 4: Add in some Stems!
I love the vases empty or with a branch in the tallest one.
You can find a ton of great stems here. Ranging from $1 – $30 ish.
baking powder vases baking soda vases clay vases diy diy home decor diy vases

